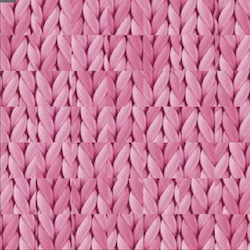
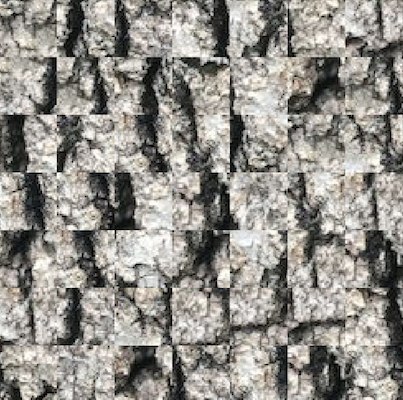
Randomly Sampled Texture

Approach

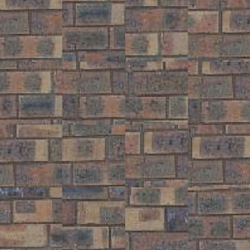
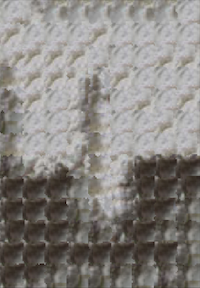
To create the random sampled texture, we randomly sampled patches of a fixed patchsize and added these tiles one by one to create a randomly sampled texture. This method was the simplest and fastest but the results were, well, pretty random.

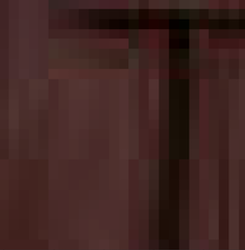
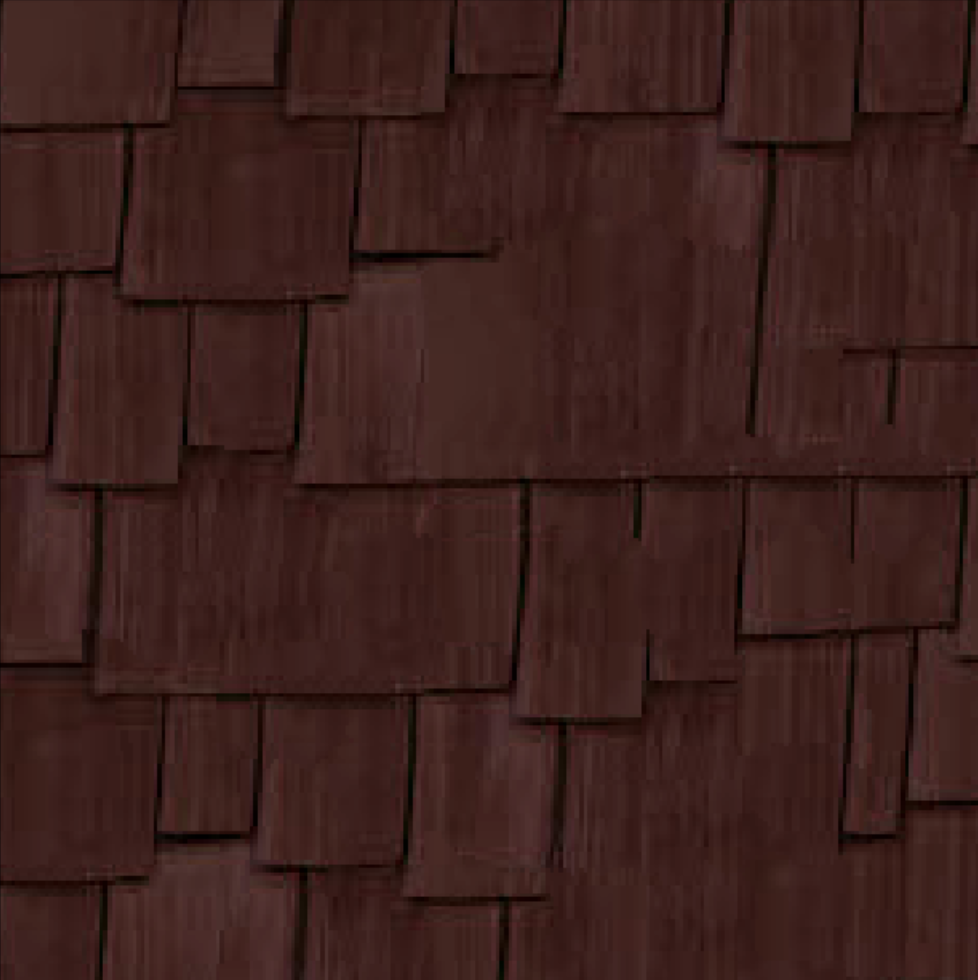
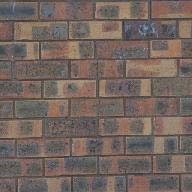
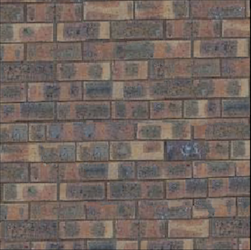
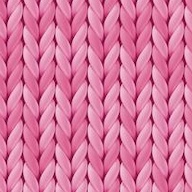
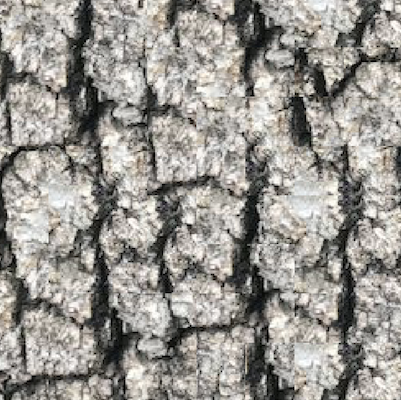
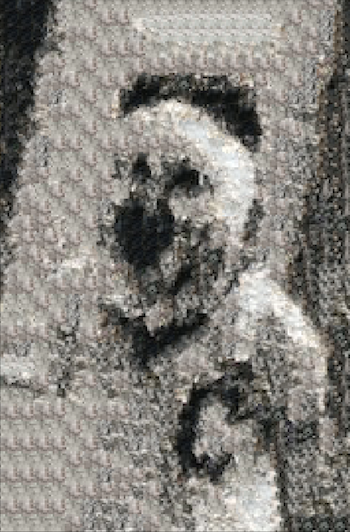
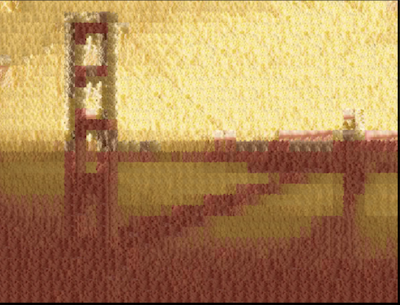
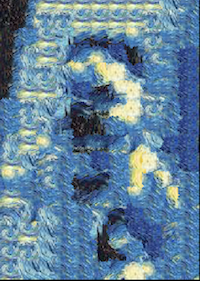
Given the original picture:

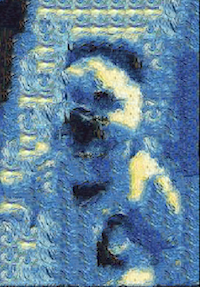
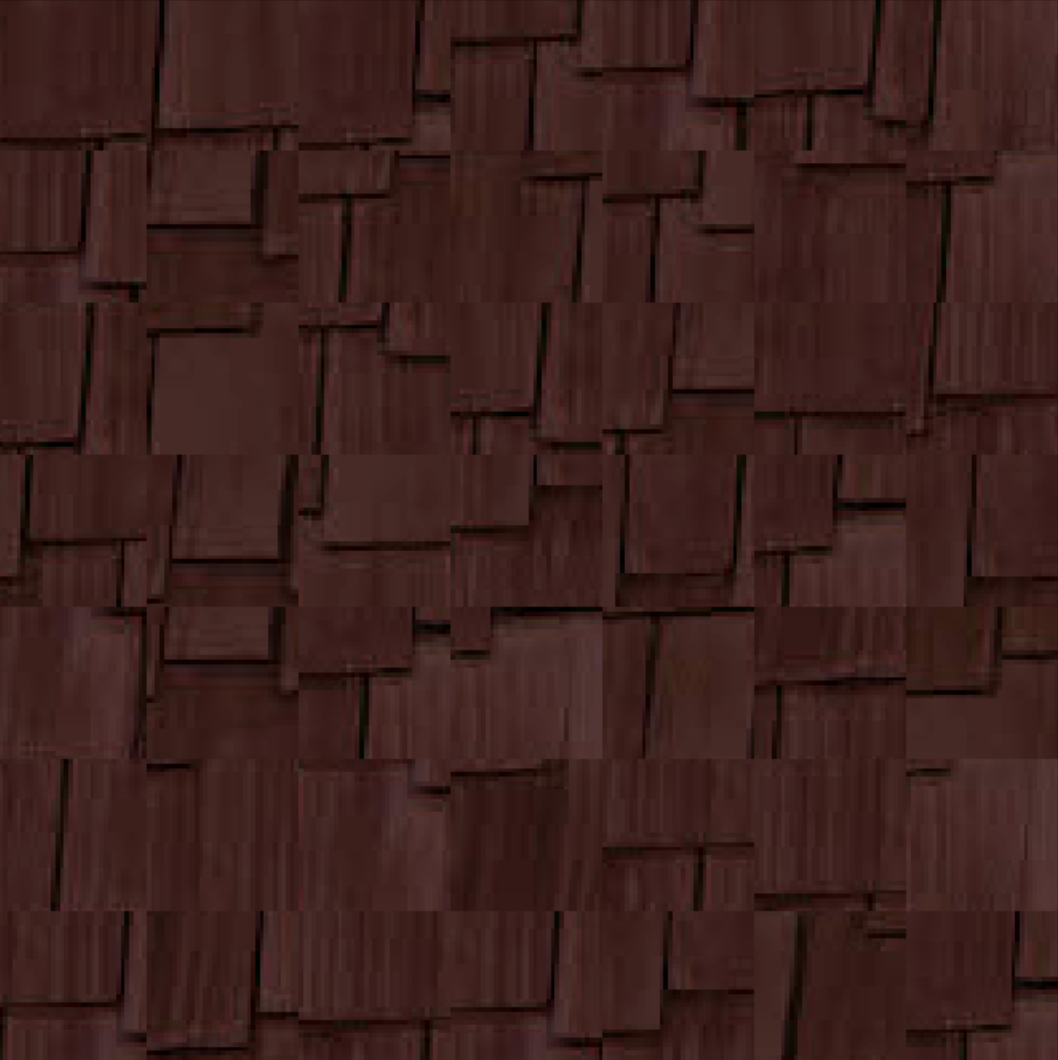
Here's one result of the random algorithm, scroll down to see a comparison of all three quilt techniques.
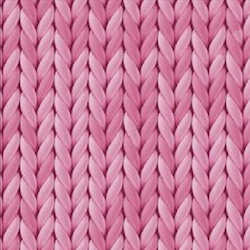
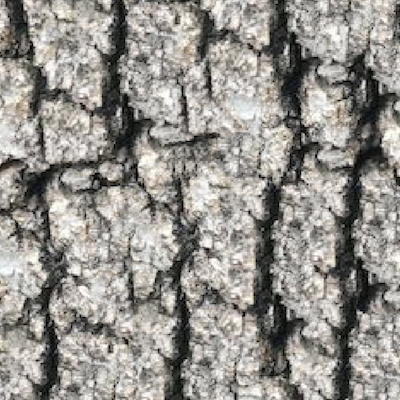
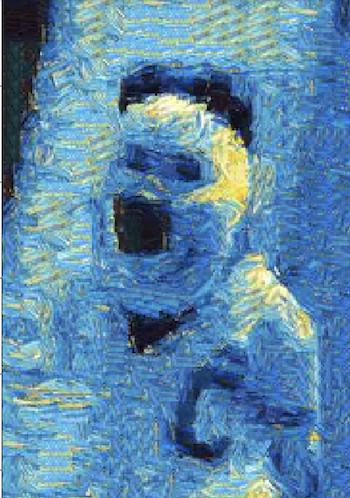
Overlapping patches

Approach

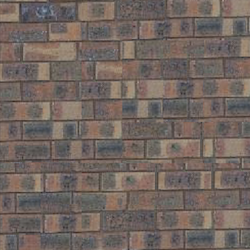
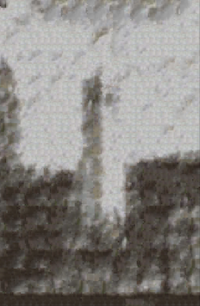
For this part, we sampled patches with some overlap between every patch. Usng the sum of squared differences, we computed the cost of the overlapping region between an existing patch in the result quilt and a potential new patch to be added to the final quilt. For every spot in the final quilt, we computed this SSD between every possible patch from the sample texture's overlap region and the existing quilt's overlap region. We would keep track of all patches that had an SSD that was under some error specified by a user defined tolerance and then randomly selected a patch from these patches to add to the final quilt.

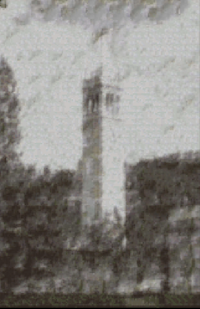
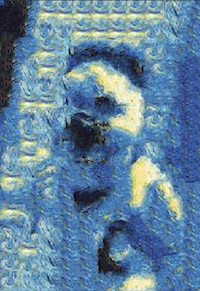
Here's one result of the overlapping patches algorithm, scroll down to see a comparison of all three quilt techniques. Clearly, this produces a much better result than the randomly sampled patches.

Seam Finding

Approach

While overlapping patches produced decent results, there are still some distracting lines in our quilts that we want to get rid of. To do so, we add seam finding to our overlapping patches approach in order to find the best matching cut between two overlapping patches to reduce the edge artifacts.

To find the cut for each overlapping region, we must find the min-cost contiguous path from one side to the other side of the overlapping patch.

Below is an example of seam finding for a patch that has both a top and left overlap.

Existing quilt overlap region New patch to be added
Left SSD Left SSD path Left Cut Mask
Top SSD Top SSD path Top Cut Mask
Combined SSD path Combined Cut Mask
Existing quilt overlap cut result New patch to be added cut result
Final merged patch

Result

Here's one result of the seam finding algorithm, scroll down to see a comparison of all three quilt techniques. Clearly, this produces a much cleaner result than the overlapping patches.

Overall, the seam finding performs the best because it eliminates any edge artifacts that can be seen in the overlapping patches result. The overlapping patches result does do a good job of matching patches based on color. The random sampling does a poor job of creating a quilt because colors are misaligned and patterns are not connected due to patches being selected randomly.

All Quilting Results

Here's a compilation of quilting results using all three methods with given textures (first two rows) and our own personal textures from the internet.

Original Texture Random Sampling Overlapping Patches Seam Finding

Texture Transfer

Approach

Given this quilting technique, we can apply it to transfer textures to target images. Texture transfer requires that the output image must follow the correspondence mapping between the source texture and target image and also produce an output that is made up of the source texture.

To do so, we need to define a correspondence map between the source texture and target image we want to transfer the texture to. For this project, the correspondence map is the luminance of the image. Places where both the source texture and target image are bright have a low error. Using some user-specified alpha value, usually between 0.4 and 0.6 for these results, the error term for determining what patch to add to the quilt now becomes alpha * the SSD block overlap error + (1 - alpha) * the SSD error between the correspondance map of the sample texture patch and those in the corresponding location in the target image. The alpha determines how much we want to value preserving the target image appearance versus how much we want to value the seamless transition.

Below are some texture transfer results.

Original Texture Target Image Texture Transfer Result (alpha = 0.5)
Original Texture Target Image Texture Transfer Result (alpha = 0.3)
Original Texture Target Image Texture Transfer Result (alpha = 0.5)

Bells & Whistles

Iterative Approach to Texture Transfer

The iterative approach to texture transfer involves applying texture transfer multiple times to an increasingly small patch size in order to generate better images. Given texture transfer requires two constraints to be satisfied, it is sometimes unable to produce an optimal result in the first iteration. Thus, we can apply iterative texture transfer to iterate over the resulting quilt image multiple times with a smaller patch size each time. We also add an additional constraint that the block being added to the final image must satisfy the original contraints set by texture transfer and also match the patch in the same position in the synthesized image from the previous iteration. This allows us to improve the texture transfer result by produced more fine-grained results that iteratively improve upon the texture patches selected for every region of the image. It's recommended that the image gets iterated over 3 to 5 times. Here, we did 3 iterations.

Below are some results of iterative texture transfer and are compared to results from non-iterative texture transfer.

Original Texture Target Image Texture Transfer (iter = 1) Texture Transfer (iter = 2) Texture Transfer (iter = 3) Texture Transfer (non-iterative)

Overall, I think that the results from iterative texture transfer were good and you can visibly see the improvement in every iteration. However, we also found that running regular texture transfer with small patch sizes (5-10 pixels, with 2 pixels of overlap) produces very good texture transfer results as well. The differences in results is likely due to differences in patch size (the iterative had larger patch sizes even at the 3rd iteration).